

Creating Your Own Site
How do I create a site in Sakai?
Click here to download a PDF version of these instructions.
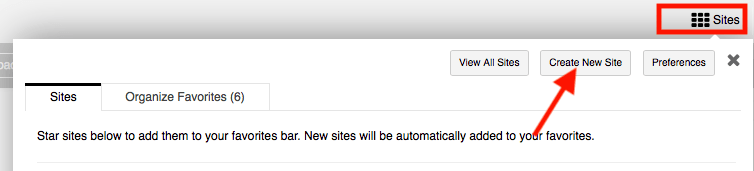
- Click on the waffle icon in the top right corner of the screen to open the Sakai Sites drawer. Once the drawer is open, click on “Create New Site”.
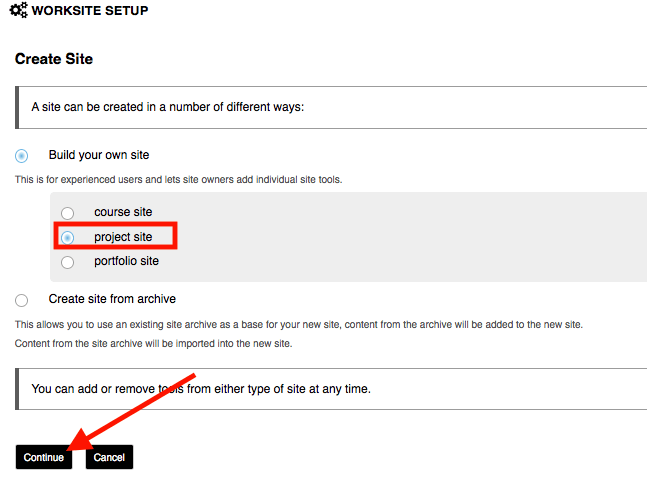
- Select “Project Site” and click “Continue”.
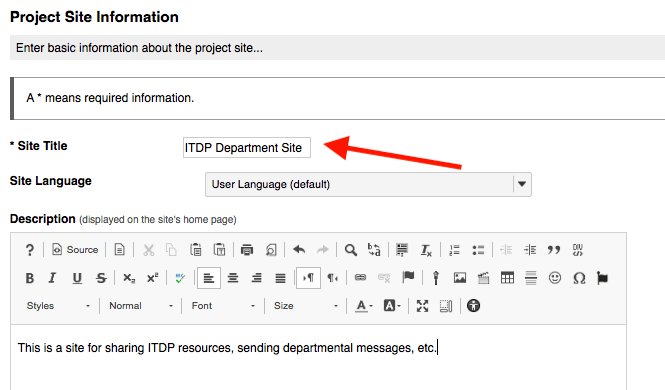
- In the field, type in the Site Title. You can also include a description if you wish. Scroll down and click, “Continue”.
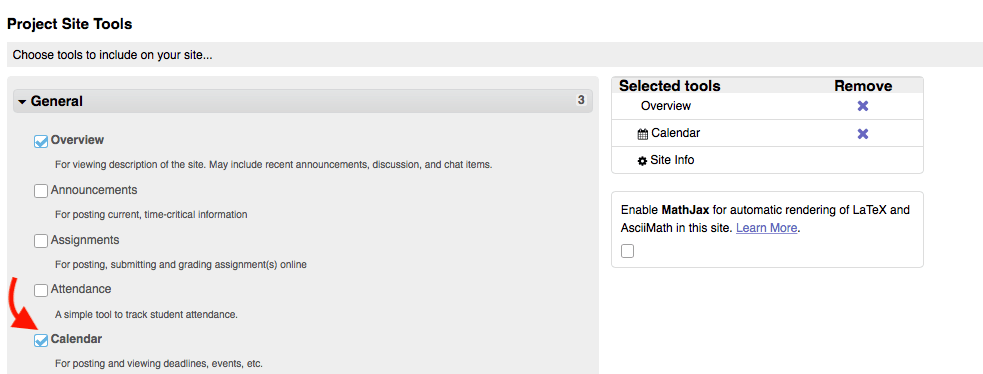
- Select the tools you would like to have included in the Sakai Site. When you are done, scroll down and click “Continue”.
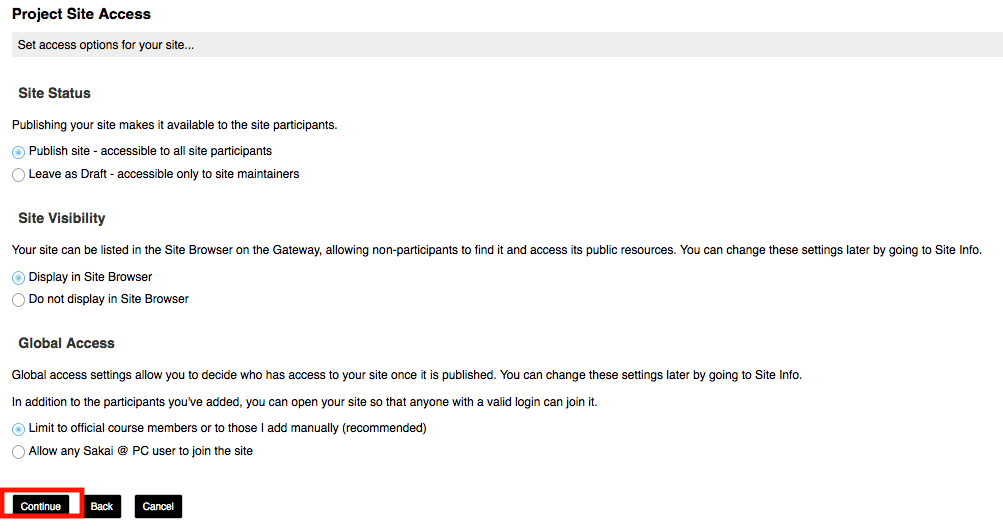
- Typically the default settings for Site Status, Site Visibility, and Global Access are going to be the correct settings, so leave as is and click “Continue”.
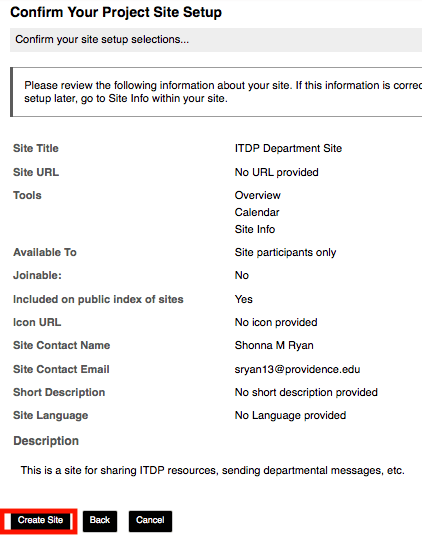
- I final review screen will appear. Click “Create Site” and the site will now appear in the “Projects” section under “Sites”.
How do I add participants to my Sakai Course?
For instructions on how to add participants to the Sakai course you created, click here.