Sakai: Getting Ready for the New Semester
Sakai: Getting Ready for the New Semester
Click here to download a PDF copy of these instructions.
Getting Help:
- Email: SakaiHelp@Providence.edu
- Online tutorials and handouts: www.Providence.edu/ITDP
Finding Your Course:
- Sites are listed across the top of the screen
- Don’t see the site you are looking for? Click the “waffle” icon.

Customizing Your List of Courses:
If you want to remove an old course from the top of the screen, or add a new course, the process is simple:
- Click the waffle icon to open all sites

- A “drawer” will open, showing all your course and project sites. If you wish to for a site to appear in the top menu, click the star to the left and it will turn yellow. If you wish for a course to no longer appear in that menu, click the same star and it will return to white, indicating that it will no longer display amongst your “favorite” sites. Once you are done, click the “X” in the top right corner of the drawer to close it.
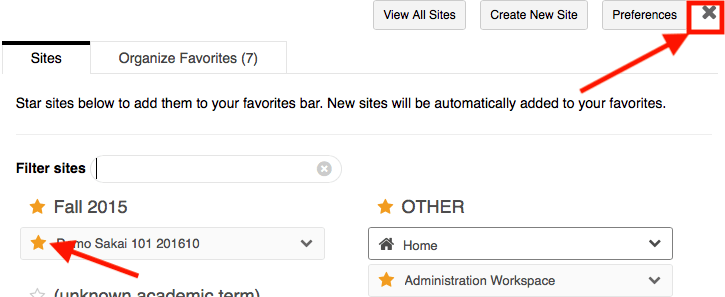
- Now you just need to reload the page to see the menu changes occur.

Publishing Your Course:
Students will not be able to see your course site until you publish it. To publish a course you simply have to click the button at the top of the screen that says, “Publish Now”.

Course Overview Page Customization
If you wish to add some content or color to the course landing page (i.e. the Overview page), follow these steps:
- In the course site, go to the Overview page.
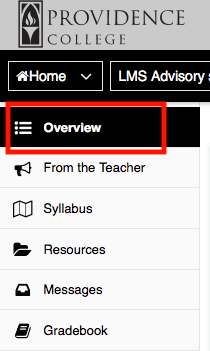
- In the area labeled, “Site Information Display” click the box that says “Edit”.

- You will now see an editor where you can do the following tasks: Change the title of the page section, add a text description/welcoming, and embed media.
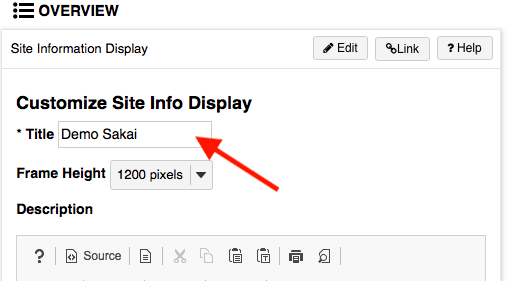
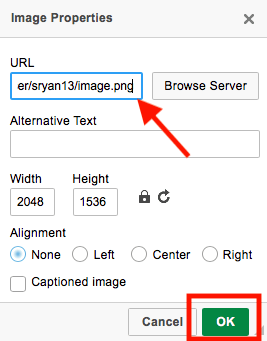
- To add an image in the editor, click the graphics icon. This will allow you to upload an image by pasting the URL for that image, or by choosing an image you already uploaded to the Resources folder of one of your course sites, or within your Workspace. Once you are done, click “OK” and you will see the image appear in the editor.
Copy Course Materials From an Old Site to a New Site:
If you wish to copy all of your course materials from an old course site to a new course site, follow these steps:
- From the left hand menu on the course site, click “Site Info”.
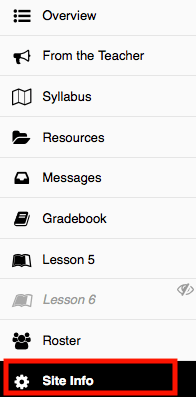
- On the Site Info page, you will see a series of tabs at the top of the page. Click on the one that says “Import from Site”.

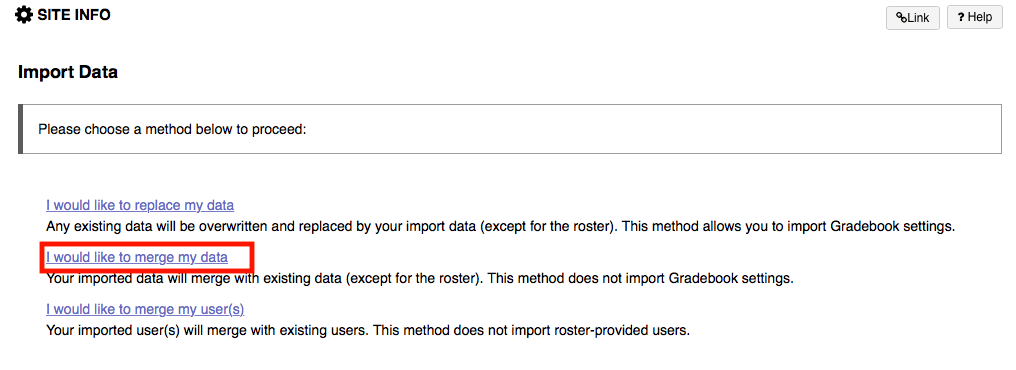
- Now, select “I would like to merge my data”
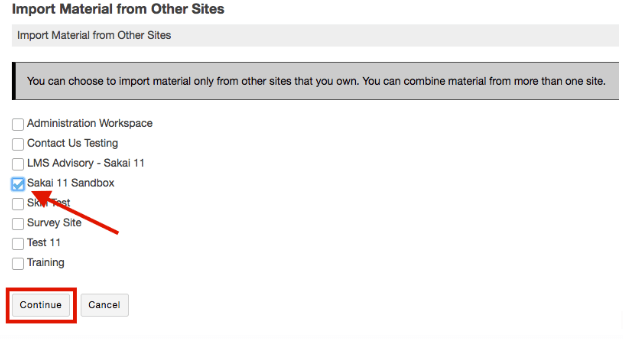
- Select the old course site that you would like to like to bring materials into the the new site from. Click “Continue”.
5. Check off which tools you would like to import course materials from. NOTE: You cannot import materials from a tool on an old course site if it is not turned on in the new course site. For example, if you wish to copy over the Forums you developed in a past semester, you first need to turn on the “Forums” tool in the new site (See “Turning on Tools and Features in Sakai”).
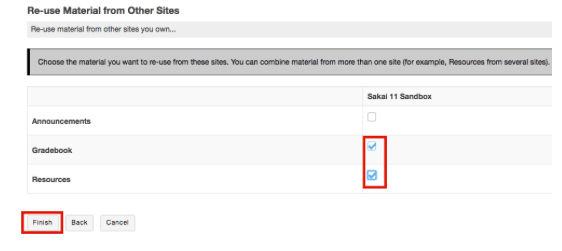
Copy Specific Course Materials into Resources:
If you only want to migrate a few specific folders/files from one course site to another, follow these instructions:
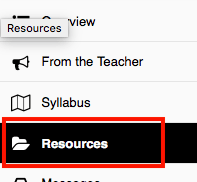
- In the left hand menu of the course site, click the button that says “Resources”.
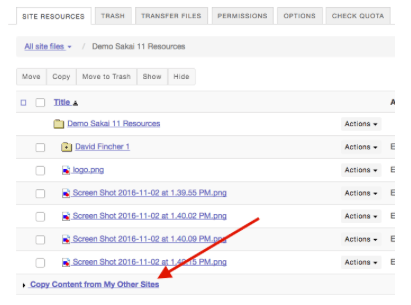
- At the bottom of the screen, click the blue link that says “Copy Content from My Other Sites”.
- Select the site you would like to copy resources from.
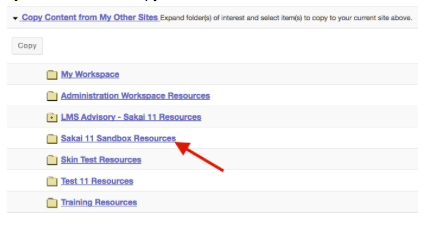
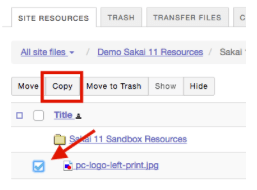
- Click the checkbox next to the file or folder you wish you copy to the new site, and then click the button that says “Copy”.
- Now, go back to the Resources page for the new course site by using the breadcrumbs menu at the top of the screen.

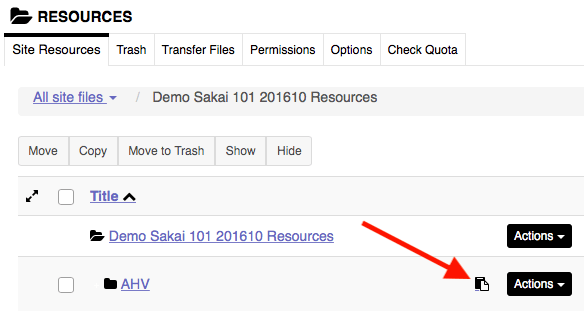
- You can now paste the copied file into any of the folders by clicking the clipboard icon.
